D2 Appliance
Intermediate Course
Purpose:
- Simplify Class II treatment during the initial stage of treatment
- Distalization of Maxillary Molar, premolars & canine en masse
Instruments & Materials Needed (Prior to Start of Class):
- Arch Markers
- Band Pusher/Scaler
- Deluxe Bracket Placer / Slot Aligner
- Heavy Duty Wire Cutters
- Hollow Chop Plier
- Mathieu Plier– Hook Tip & Wide Tip
- Three Prong Plier
- Clear Typodont with no bands or brackets on upper arch
Materials Provided:
- Accelerator Spray
- D2 Appliance
- D2 Elastics
- Super Glue
Directions:
-
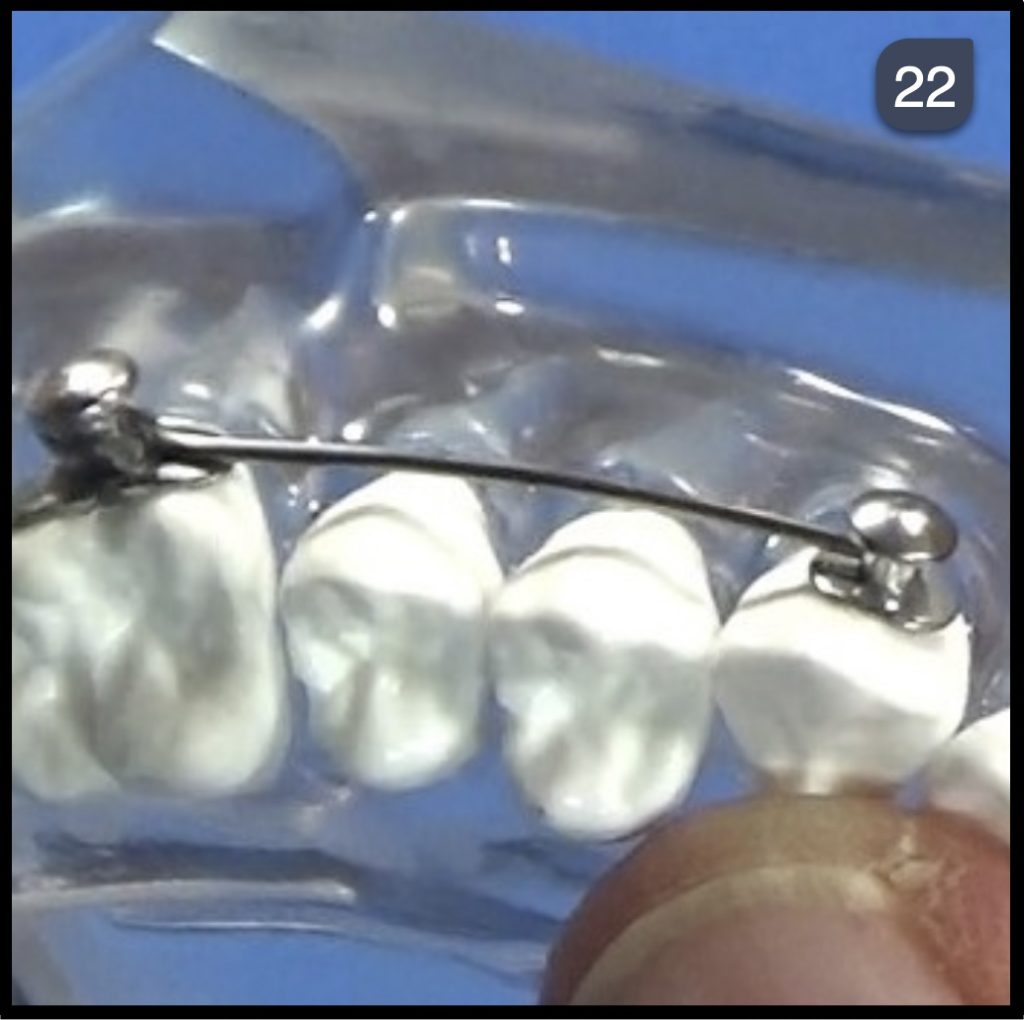
- D2 – Posterior segment
-
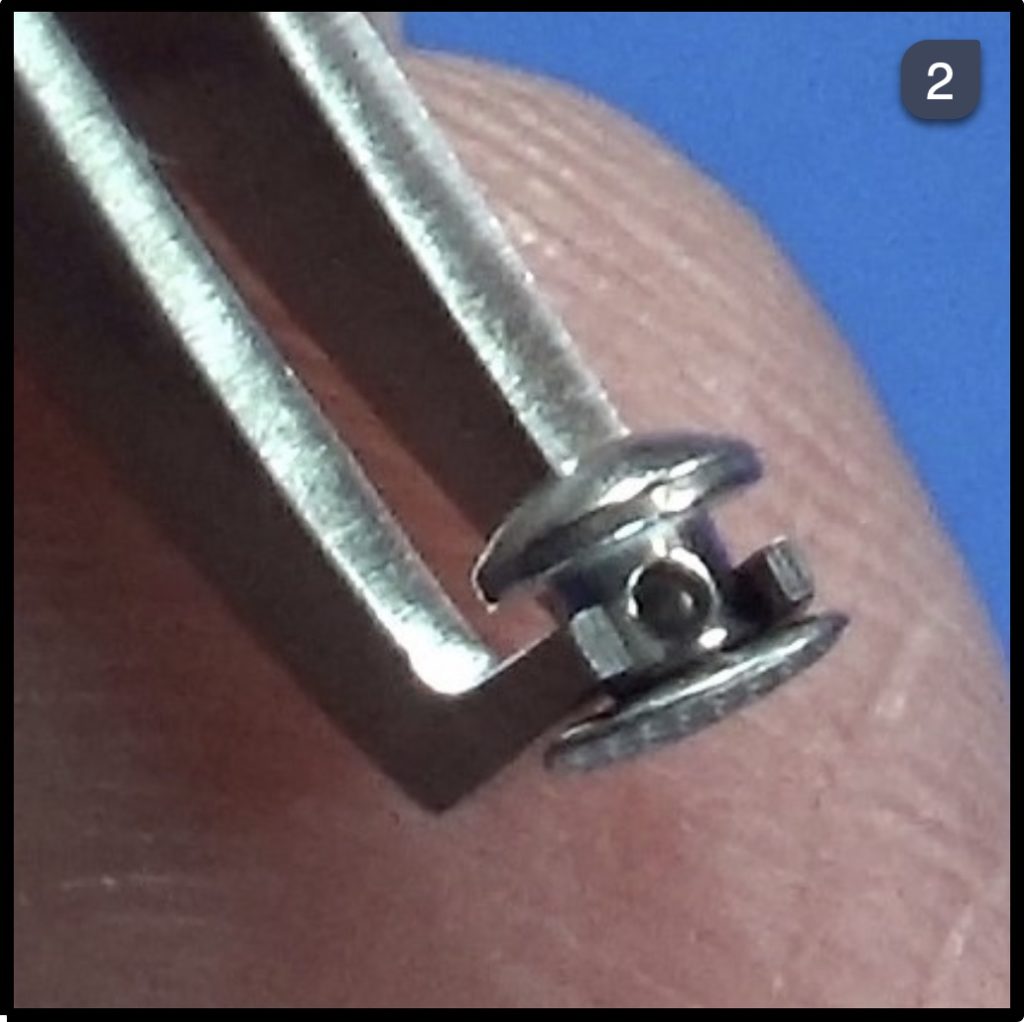
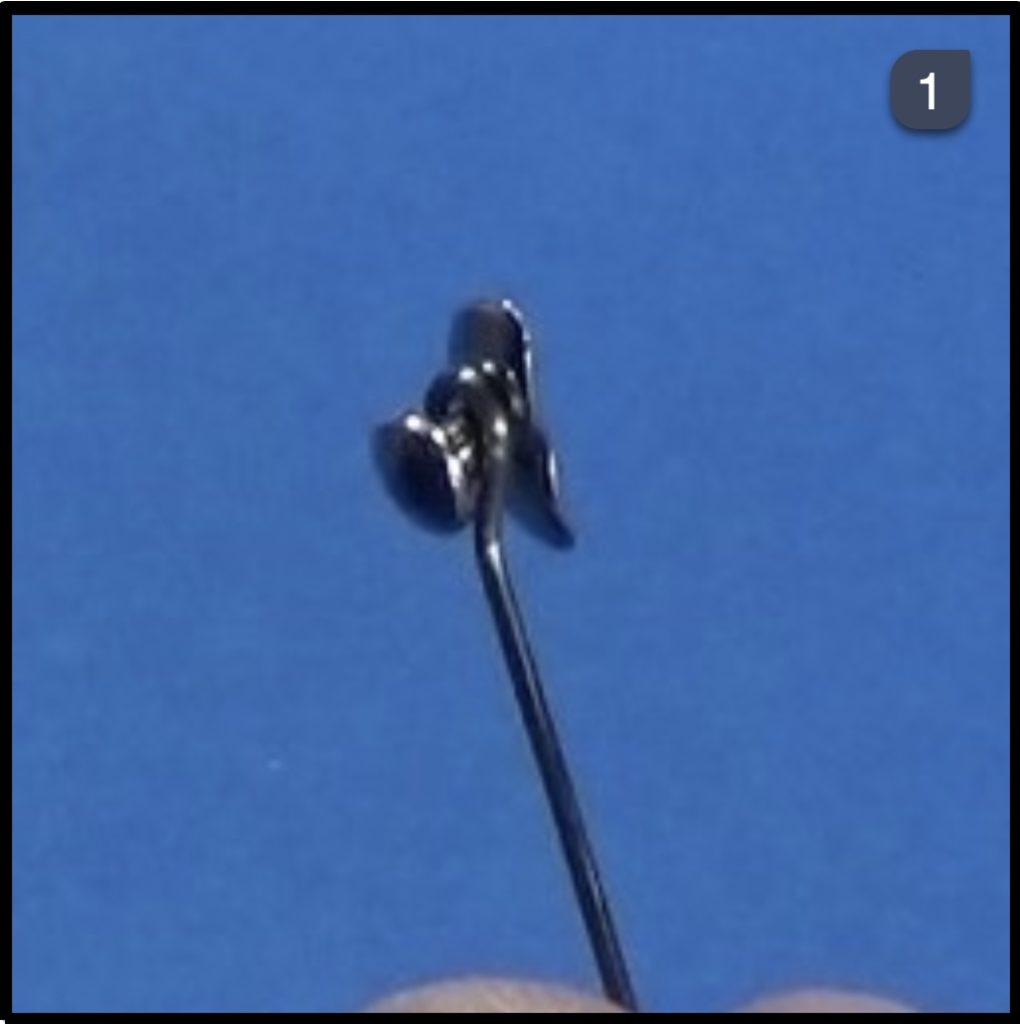
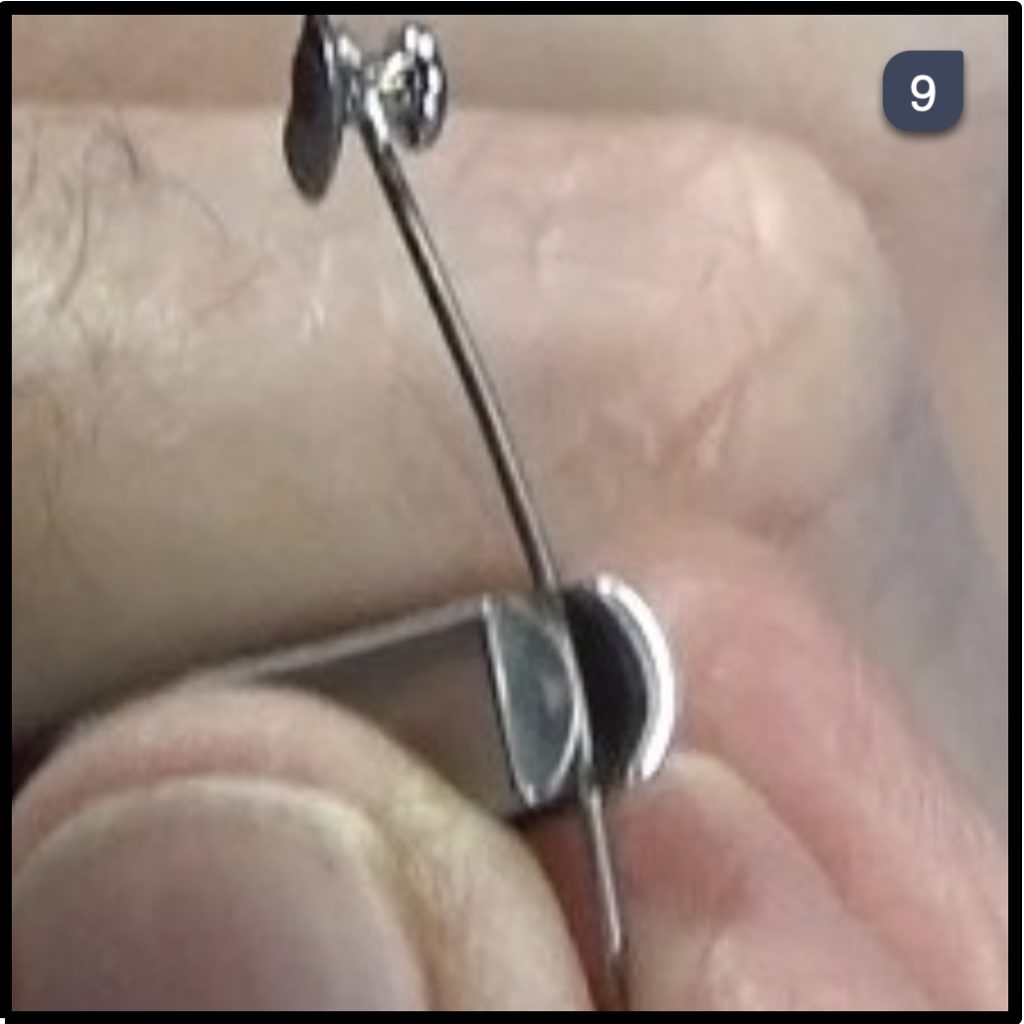
- D2 – Anterior button with hole
-

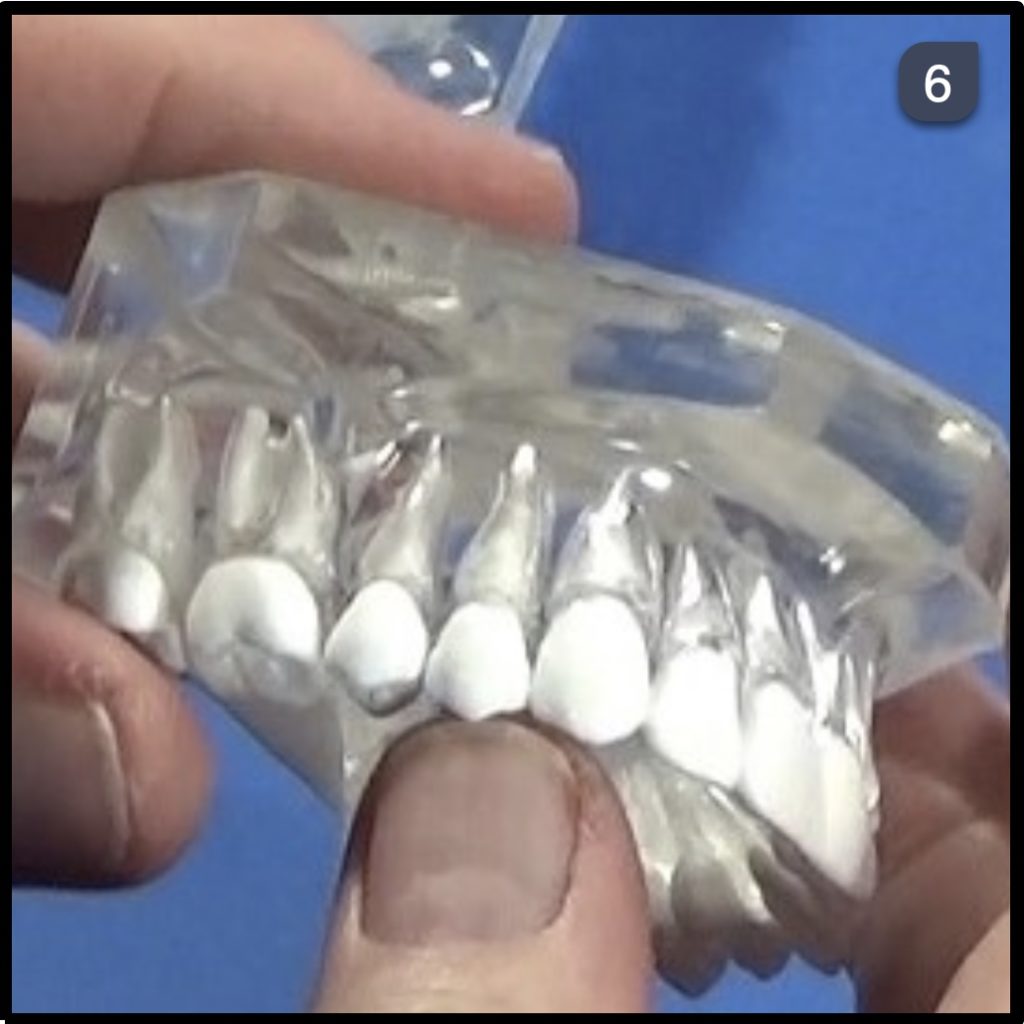
- D2 – Entire Appliance Assembled
-
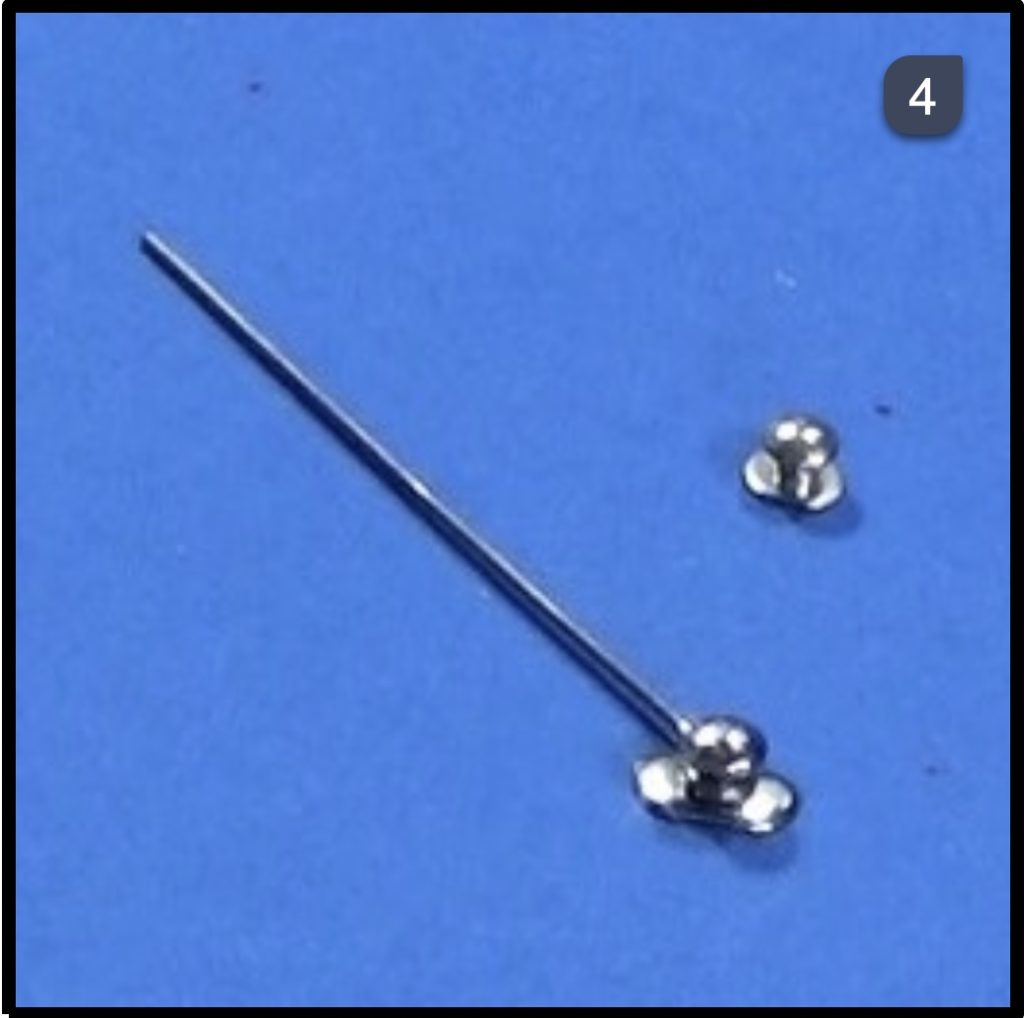
- D2 – Appliance Not Assembled
-
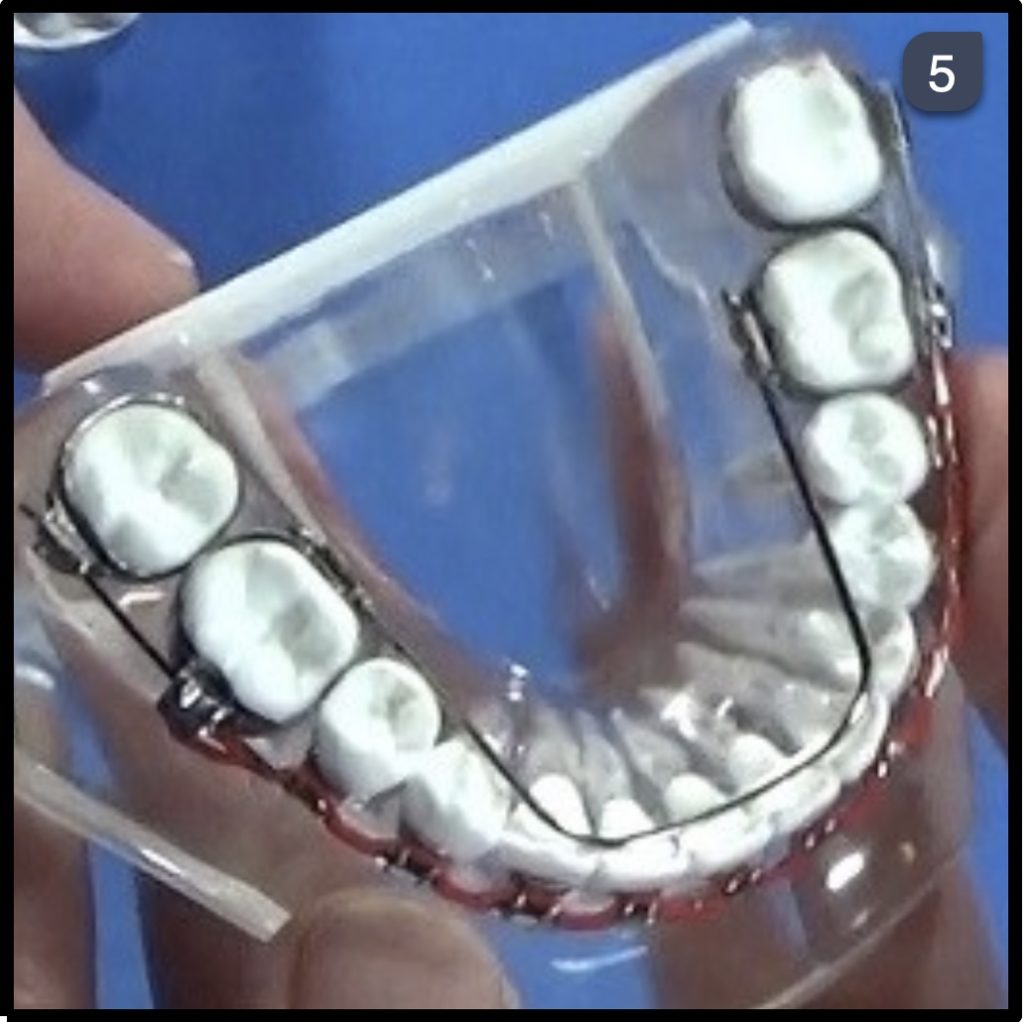
- Lower arch has options: On 6s use bands with FRLA or place an Essix retainer with cutout for brackets.
-
- D2 can be placed at beginning of treatment prior to any brackets being placed.
-
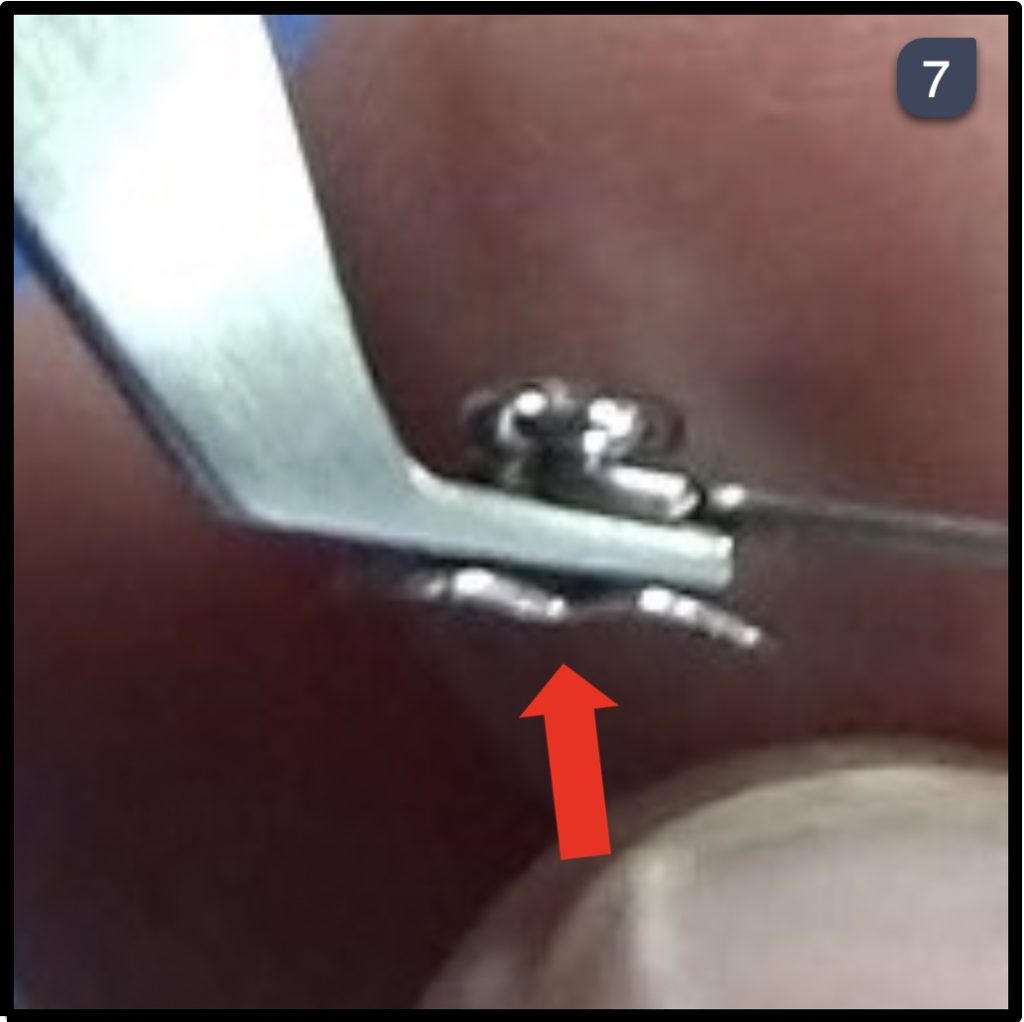
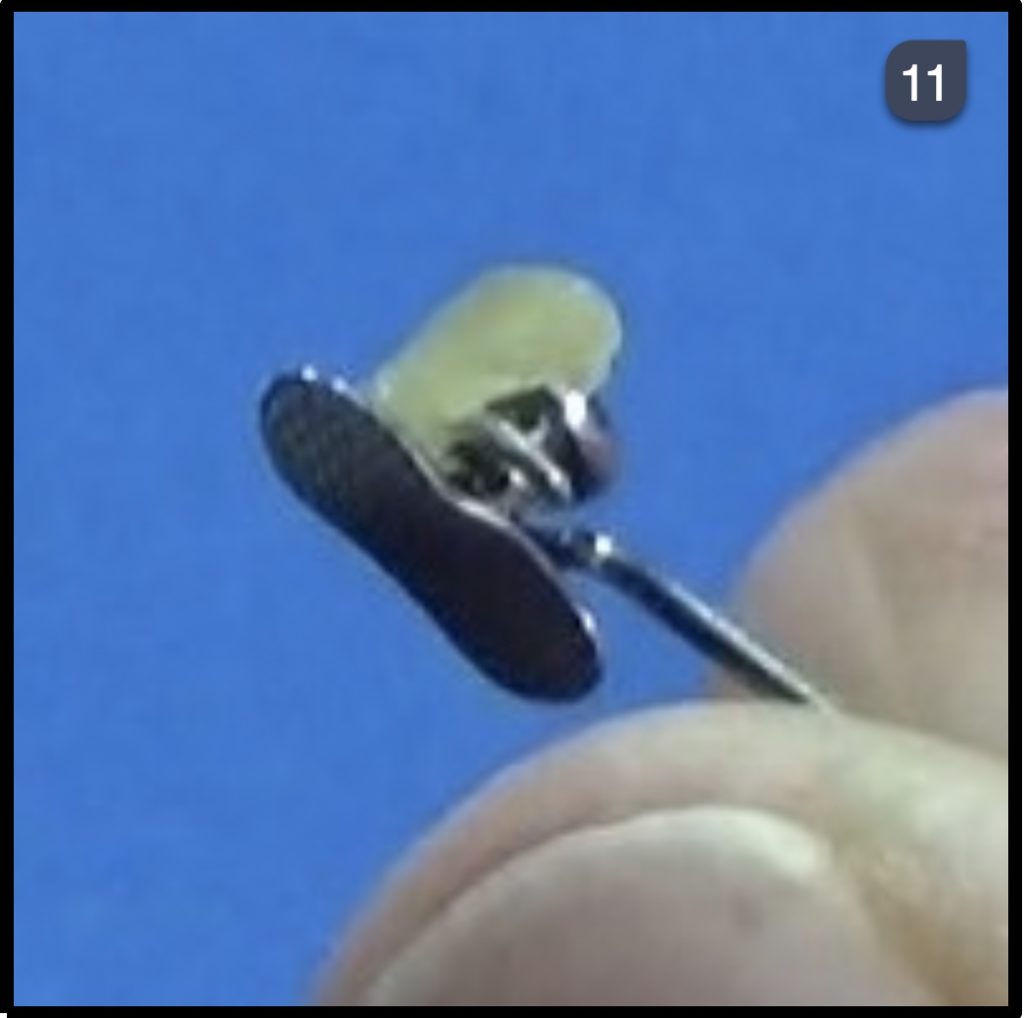
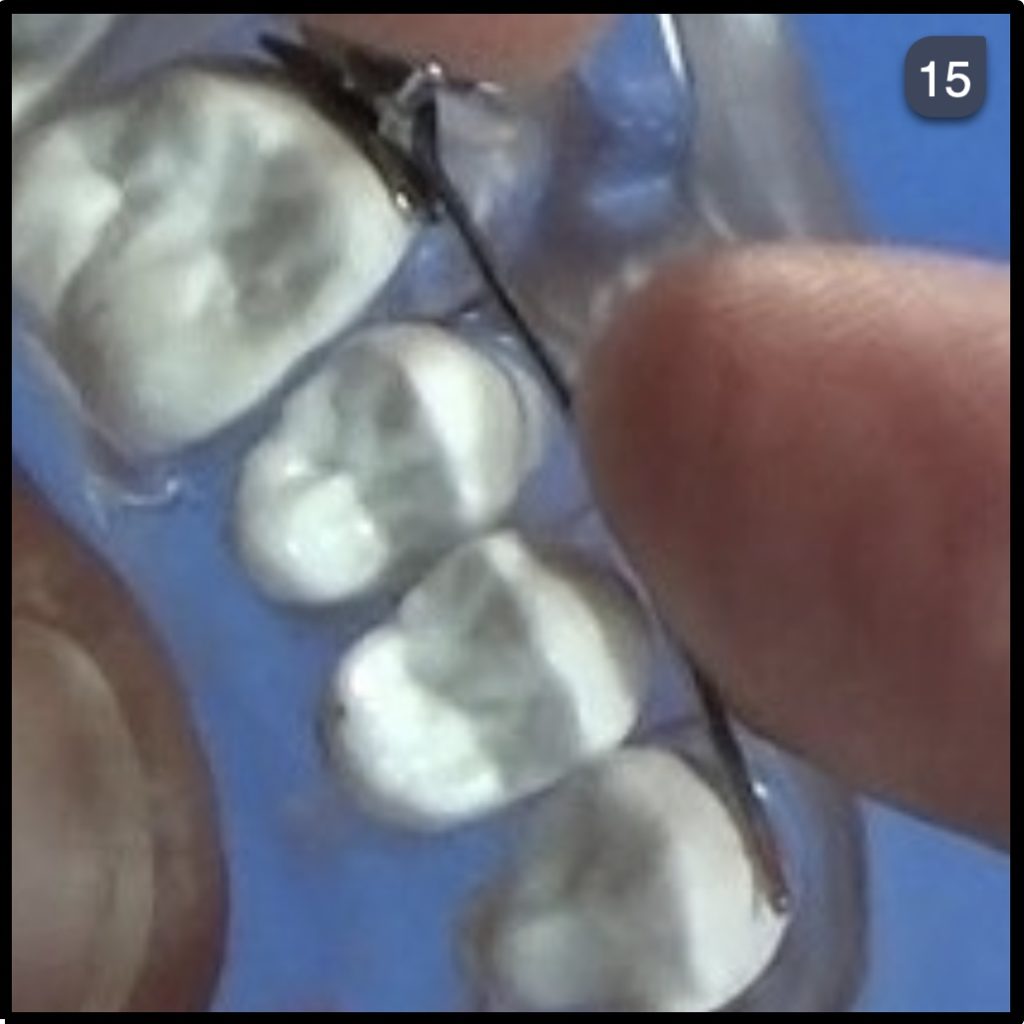
- It is important that this bend in the mesh pad is placed in the buccal groove on the 1st molar.
-
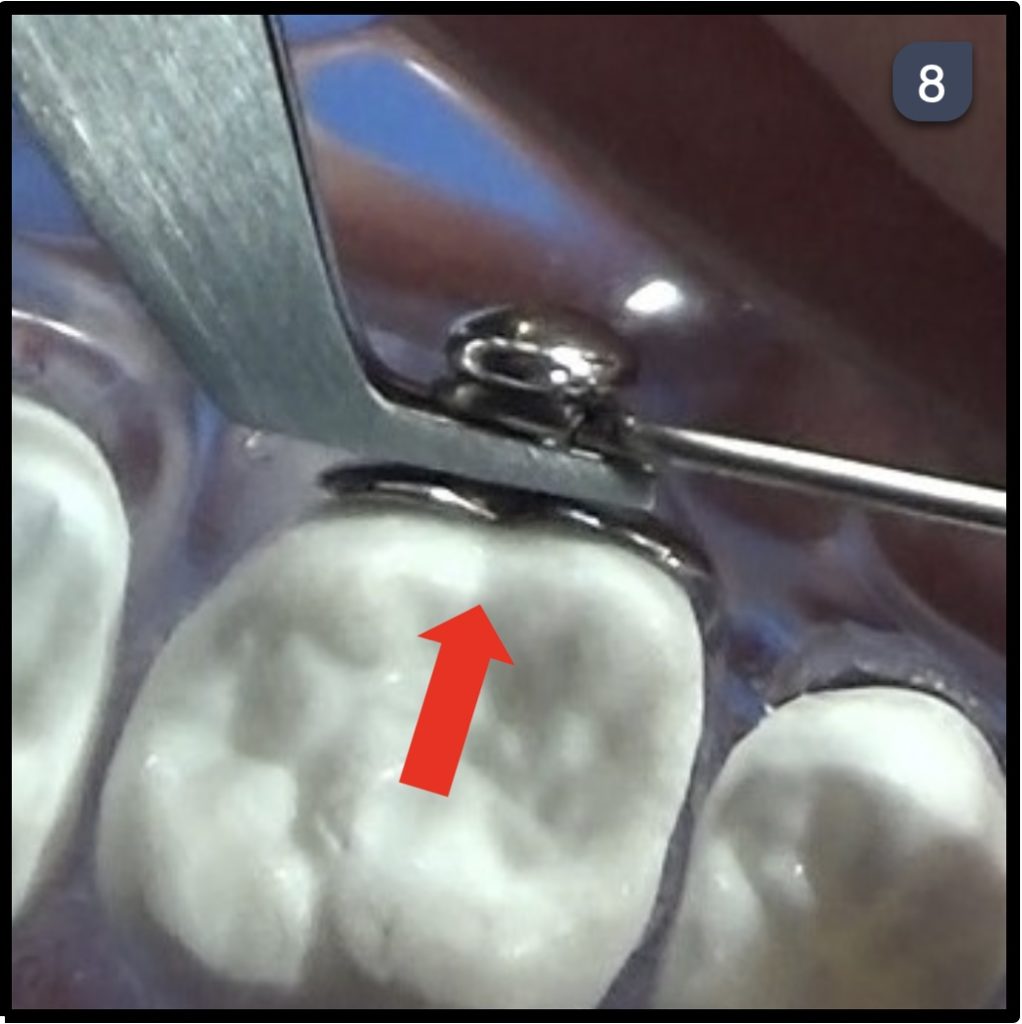
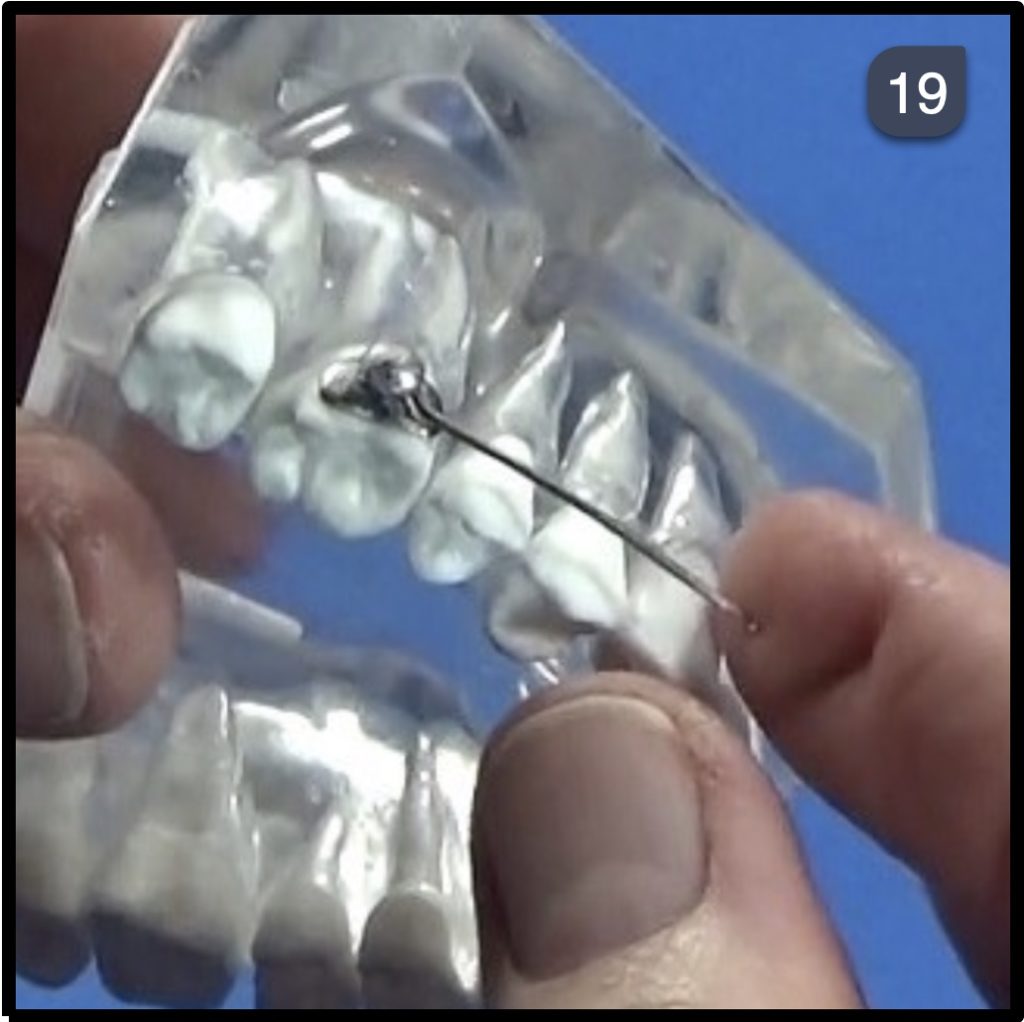
- This is how placement of the posterior segment should fit
-
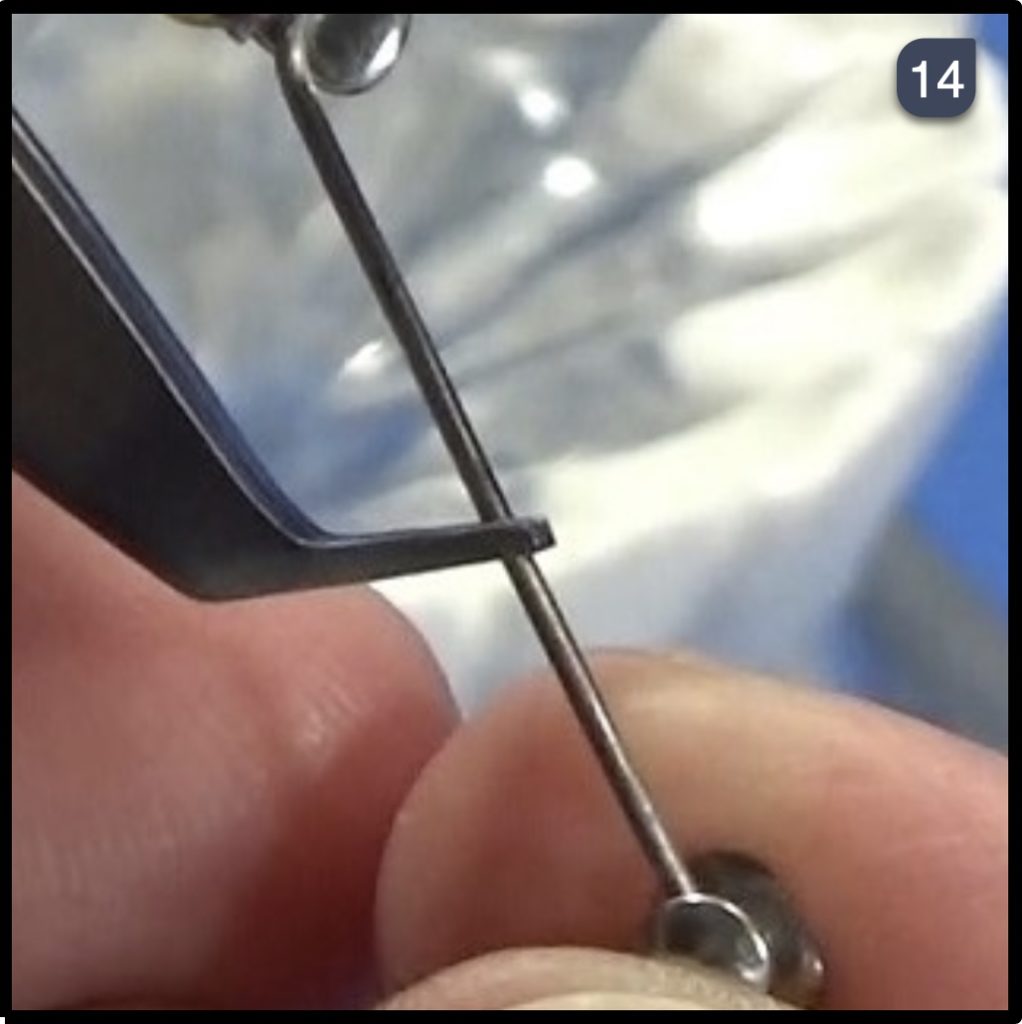
- Use a Hollow Chop Plier to contour the wire to curve towards the ca-nine or premolar.
-
- This should curve to match the arch form.
-
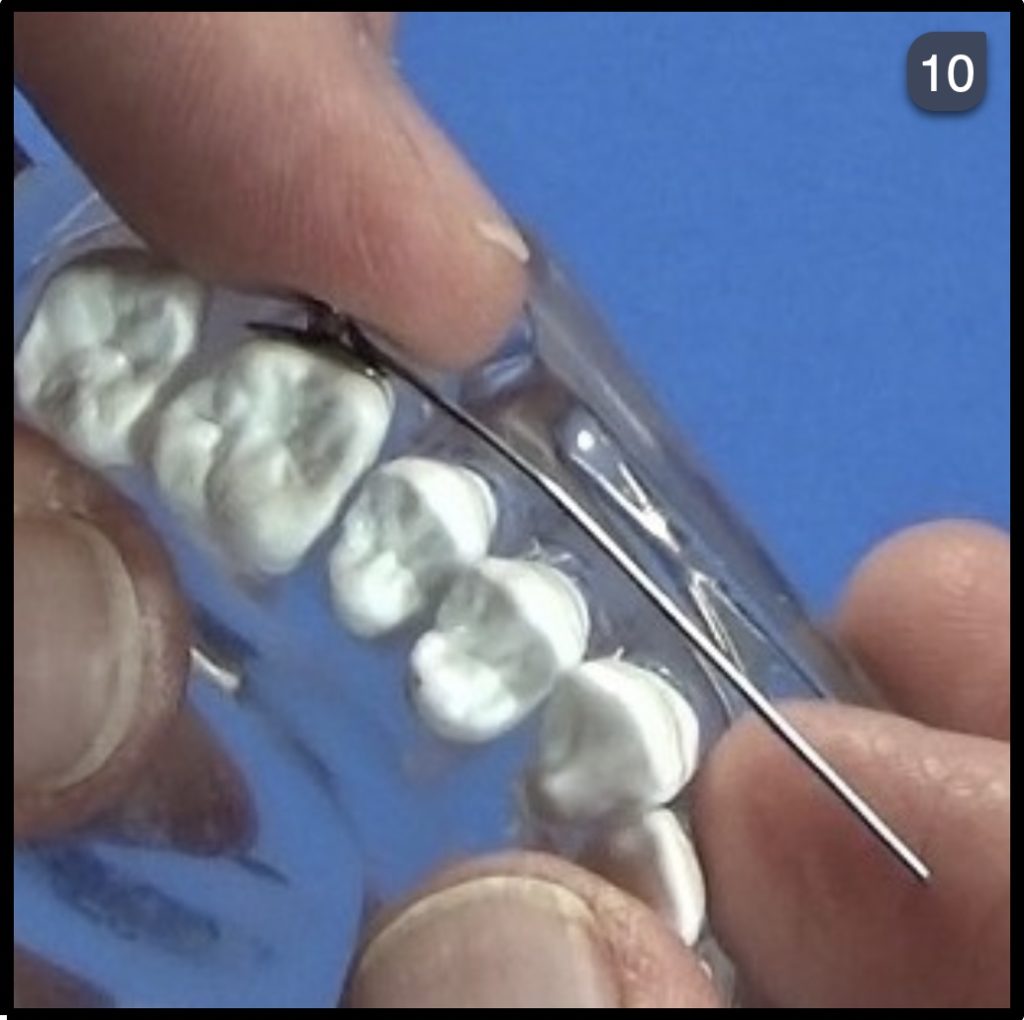
- Prior to placement, place a small ball of wax on the posterior segment to keep the wire from swiveling.
-
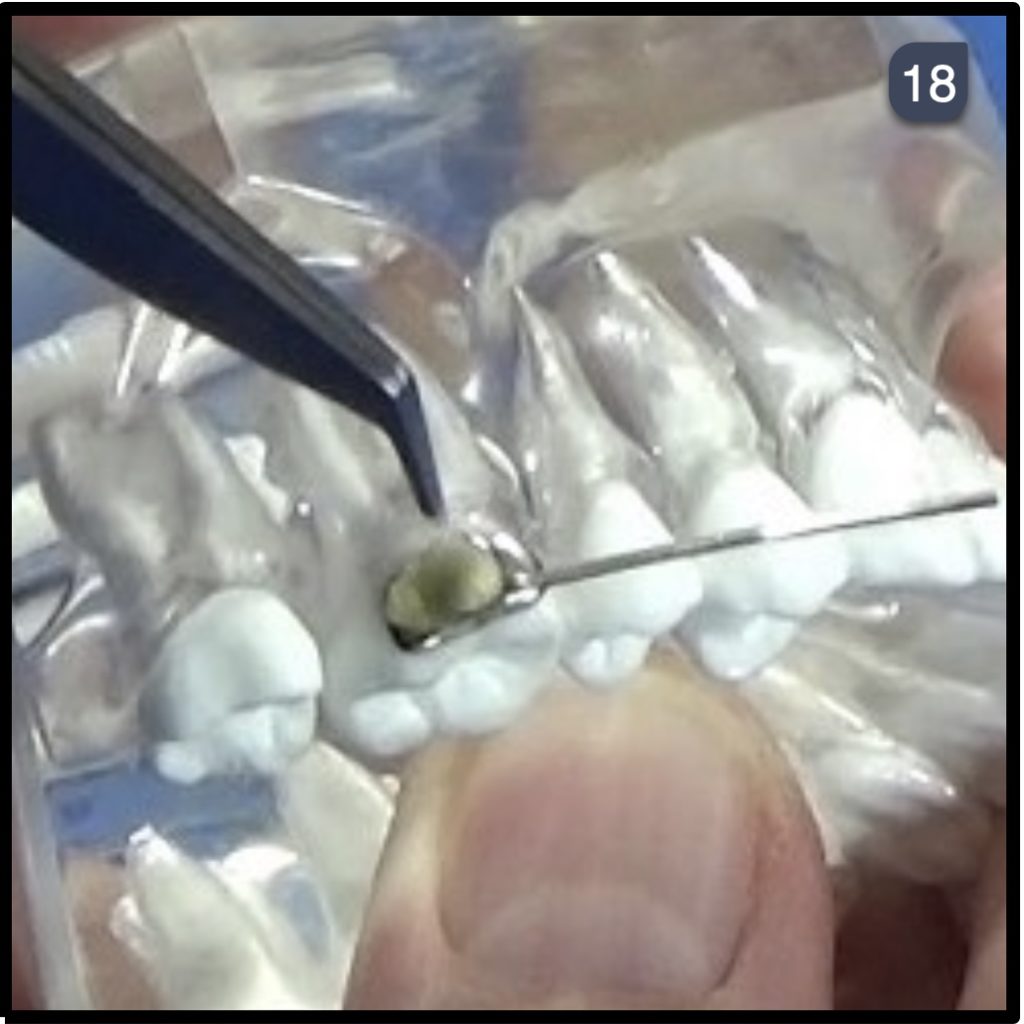
- Before seating appliance, measure and mark the wire to cut. This can be to the canine or the 2nd premolar, whatever is available.
-
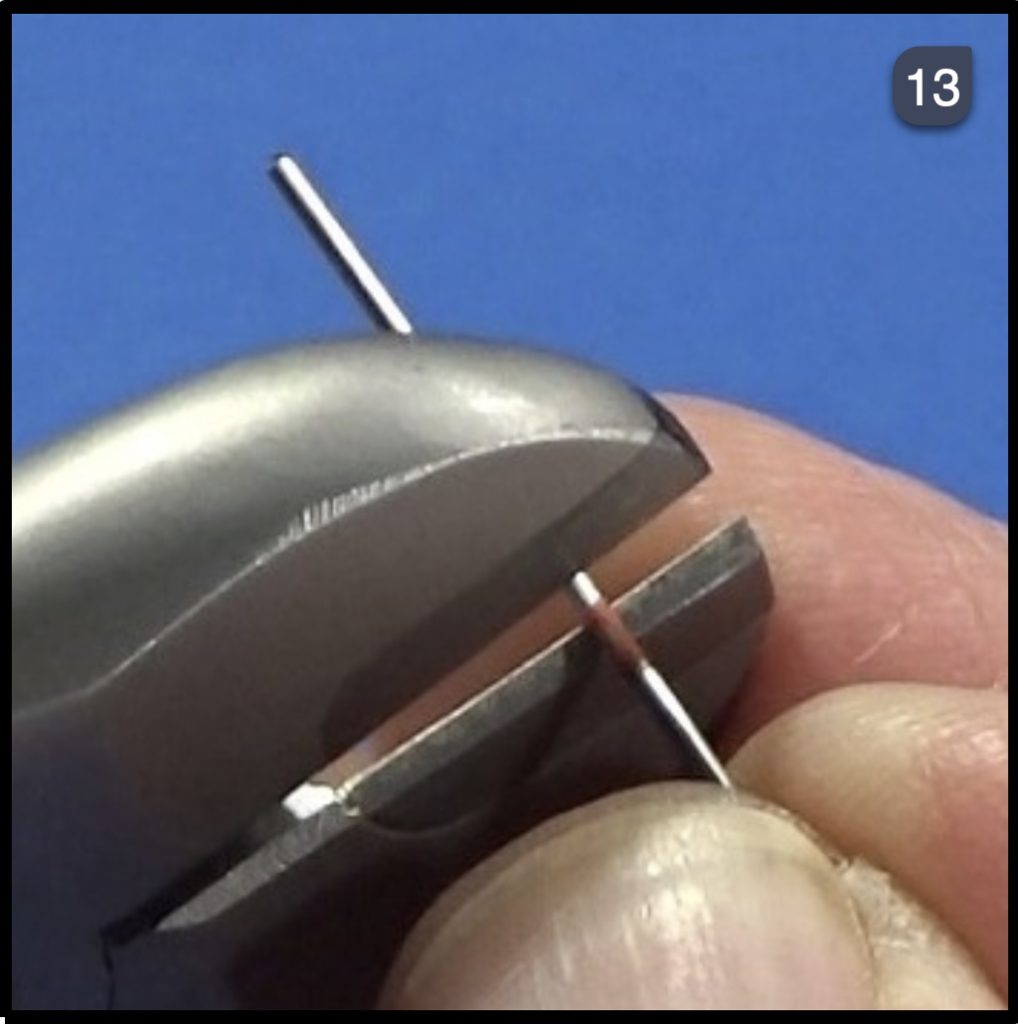
- Cut wire on the mark using Heavy Duty Wire Cutters or Distal End Cutters.
-
- After cutting the wire, replace into the anterior button to make sure it fits, it is a snug fit.
-
- Remove the button and check the length of the wire. If too long, cut before seating posterior segment.
-
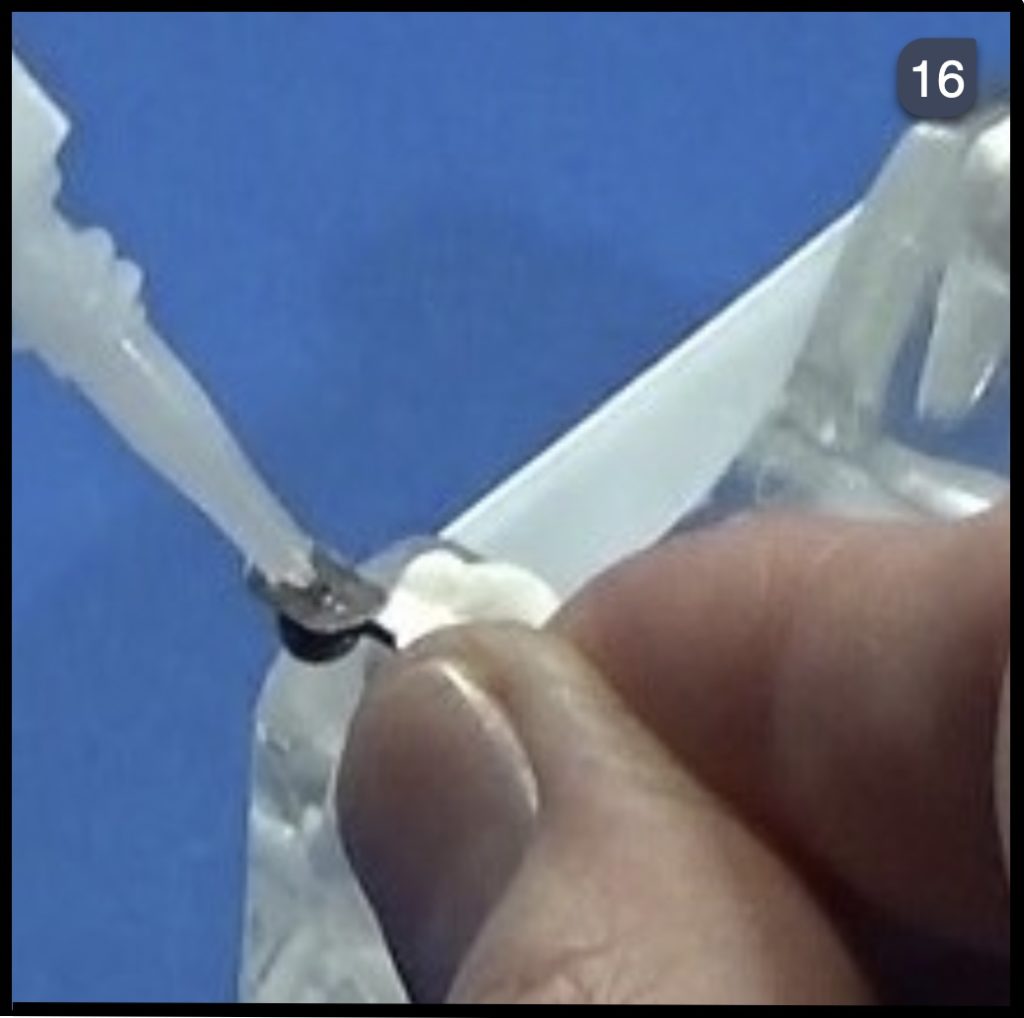
- Use the super glue to seat the posterior segment.
-
- Make sure the bend in the mesh pad is lined up correctly with the buccal groove.
-
- Once it has dried, remove any wax from the posterior segment.
-
- Now that it has been seated, check the length again before seating the anterior button.
-
- Cut and make any adjustments as needed.
-
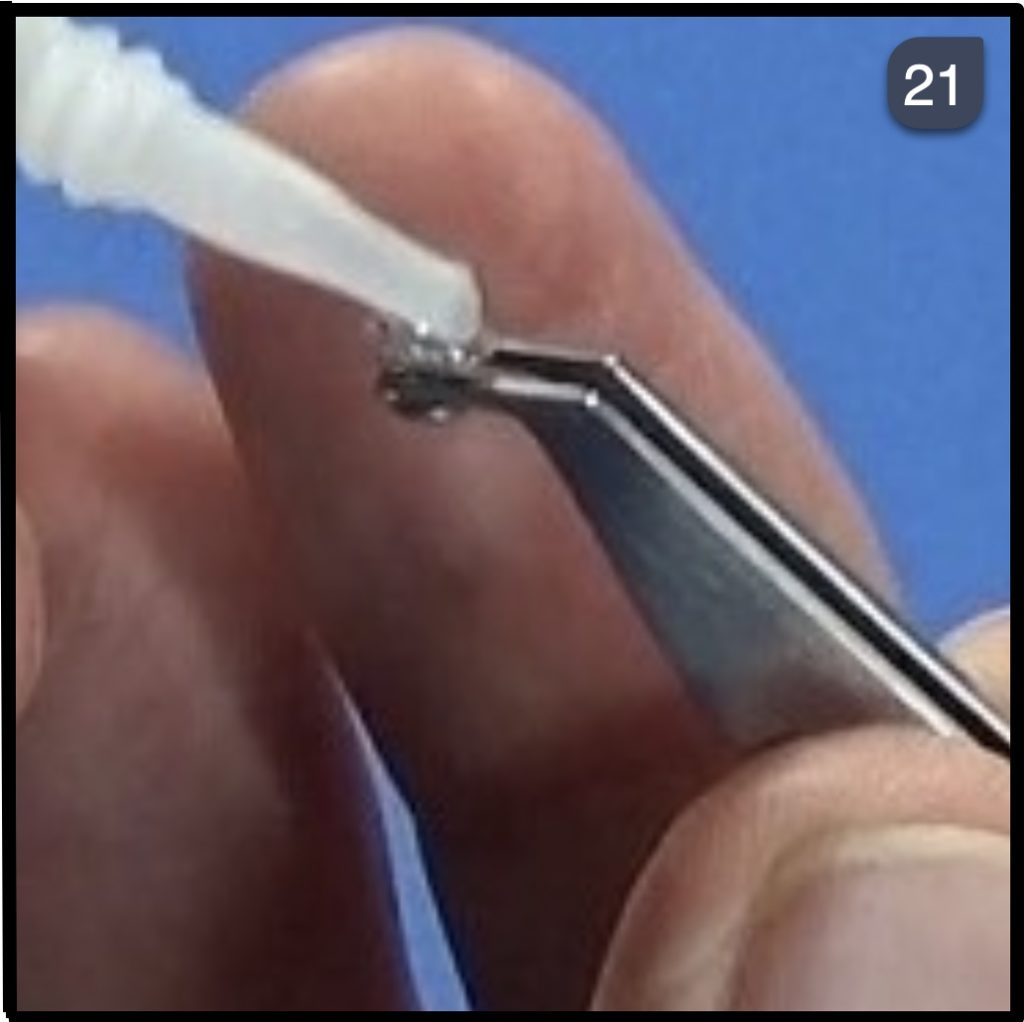
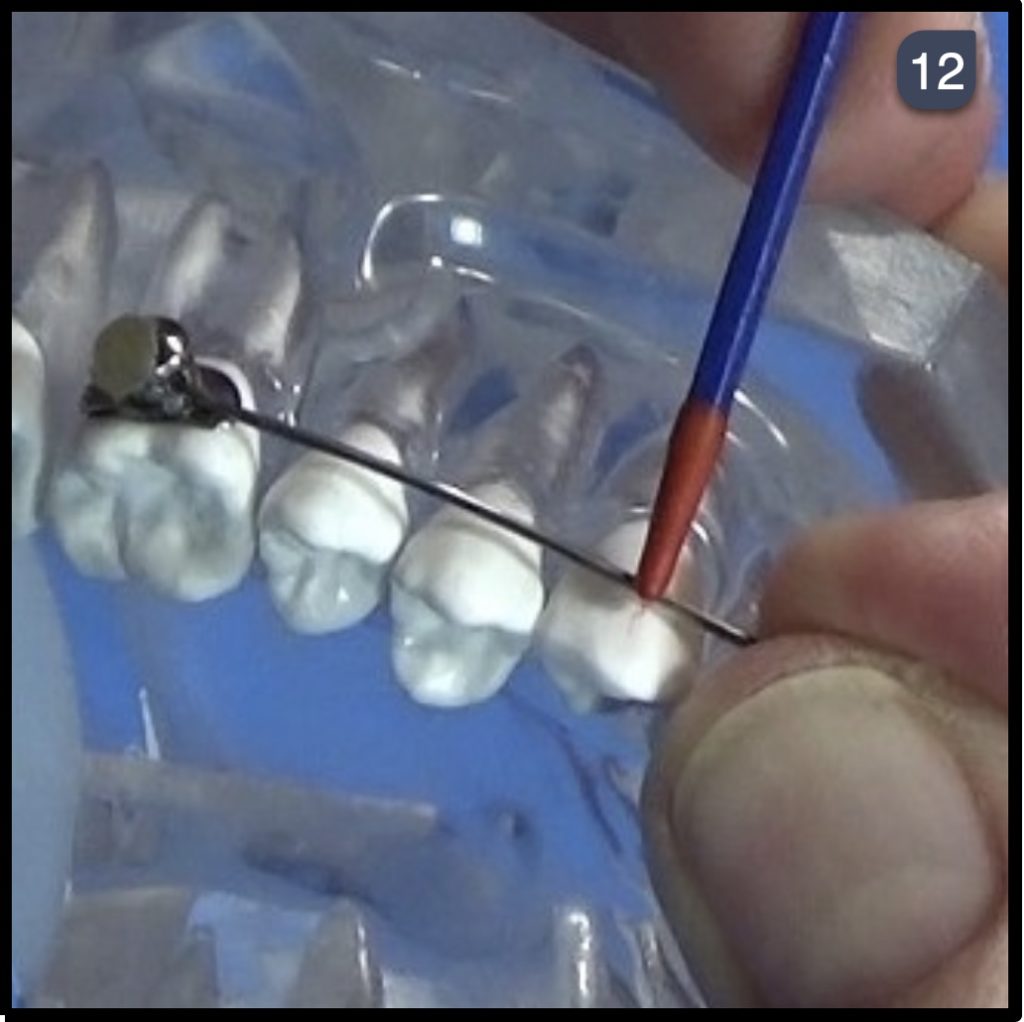
- Use super glue to seat the anterior button.
-
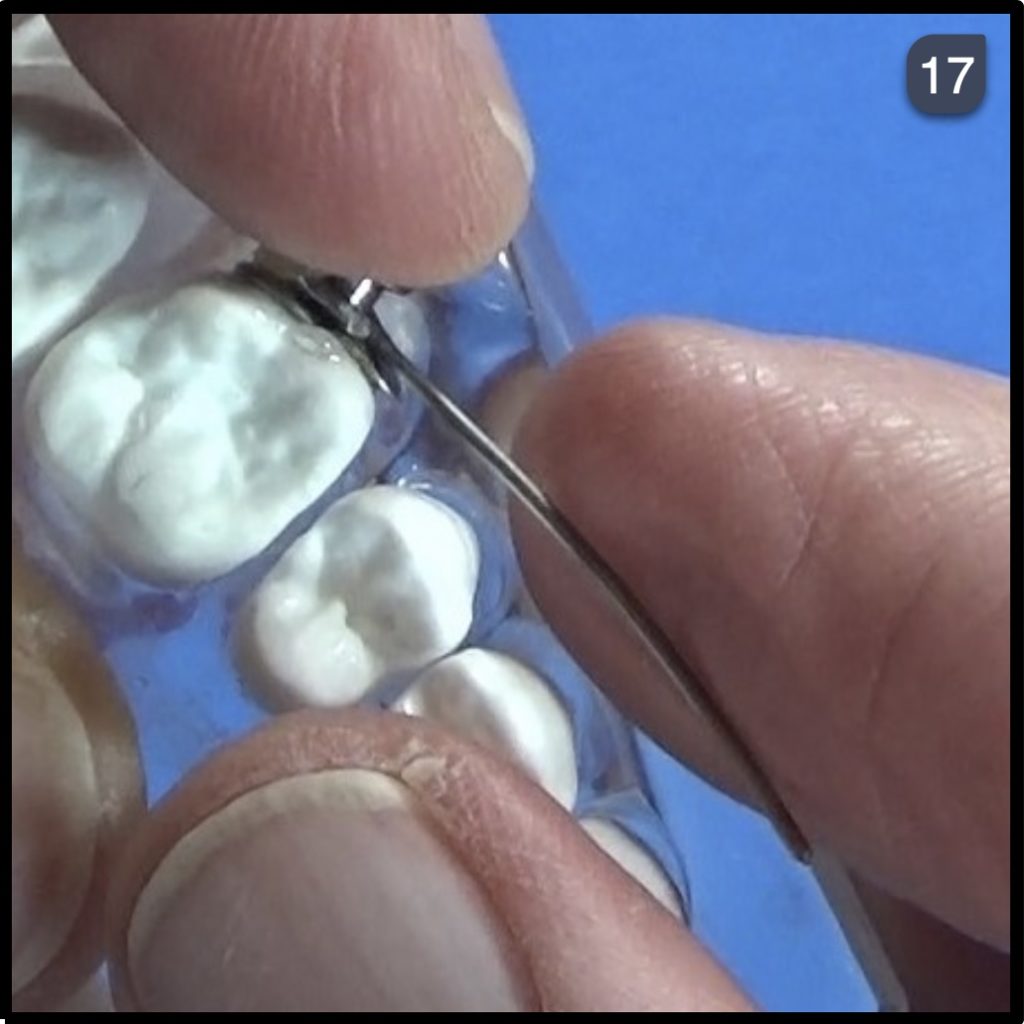
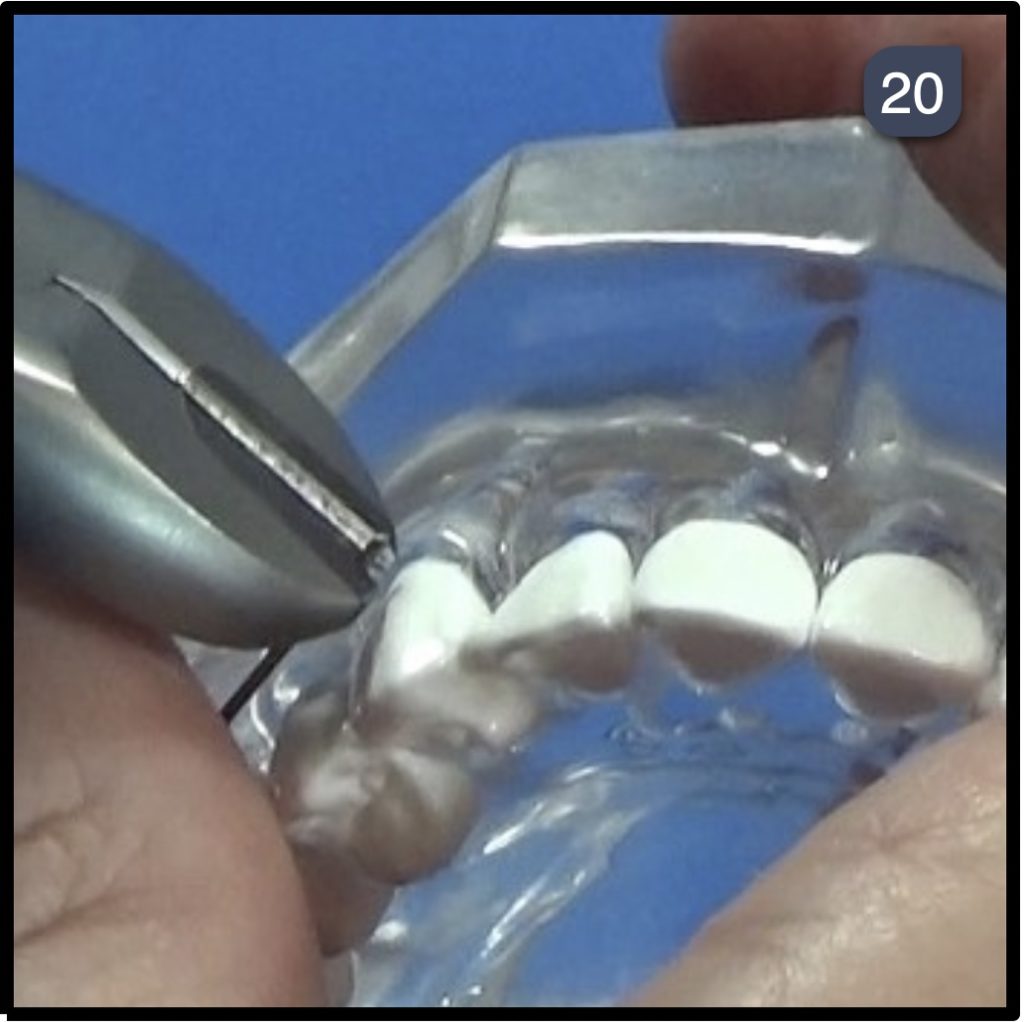
- Slide the anterior button on the wire and seat.
-
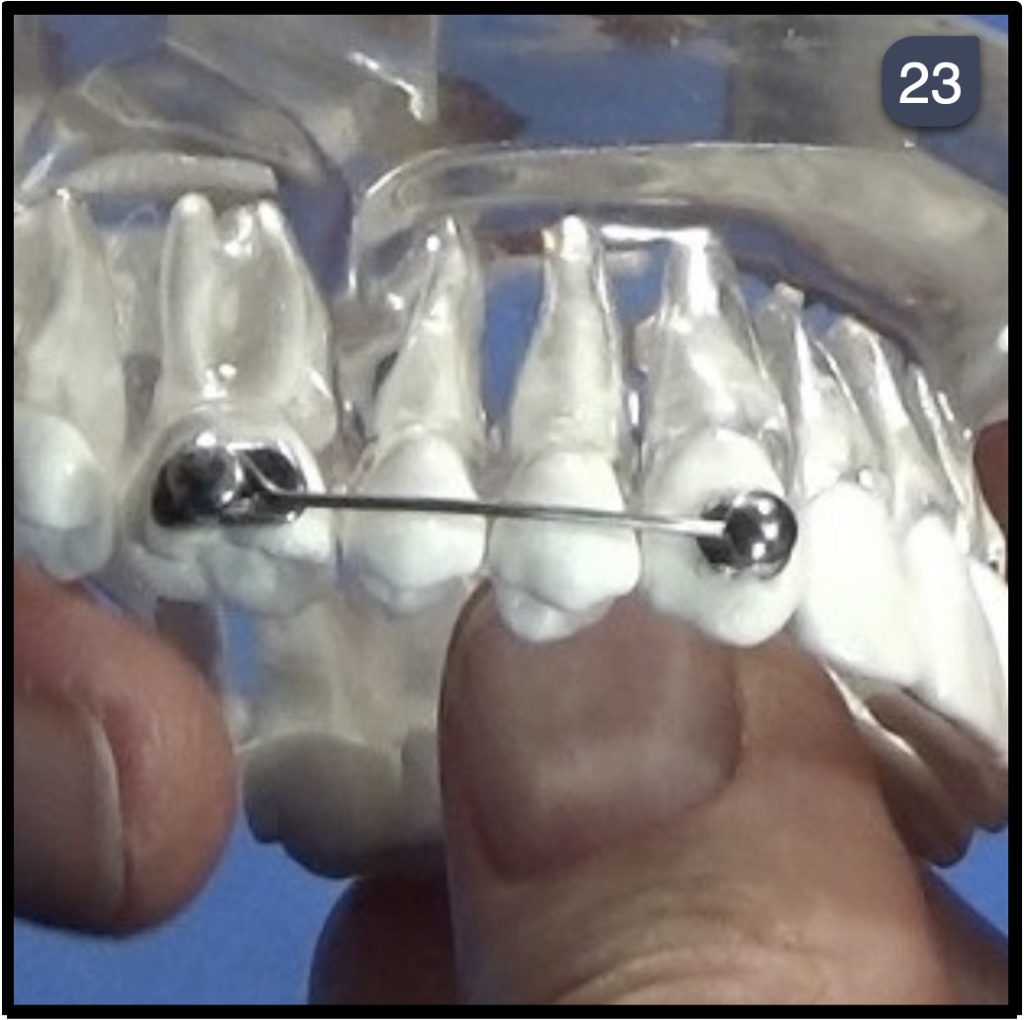
- Once seated, the anterior button should be in the center of the canine or 2nd premolar.
-
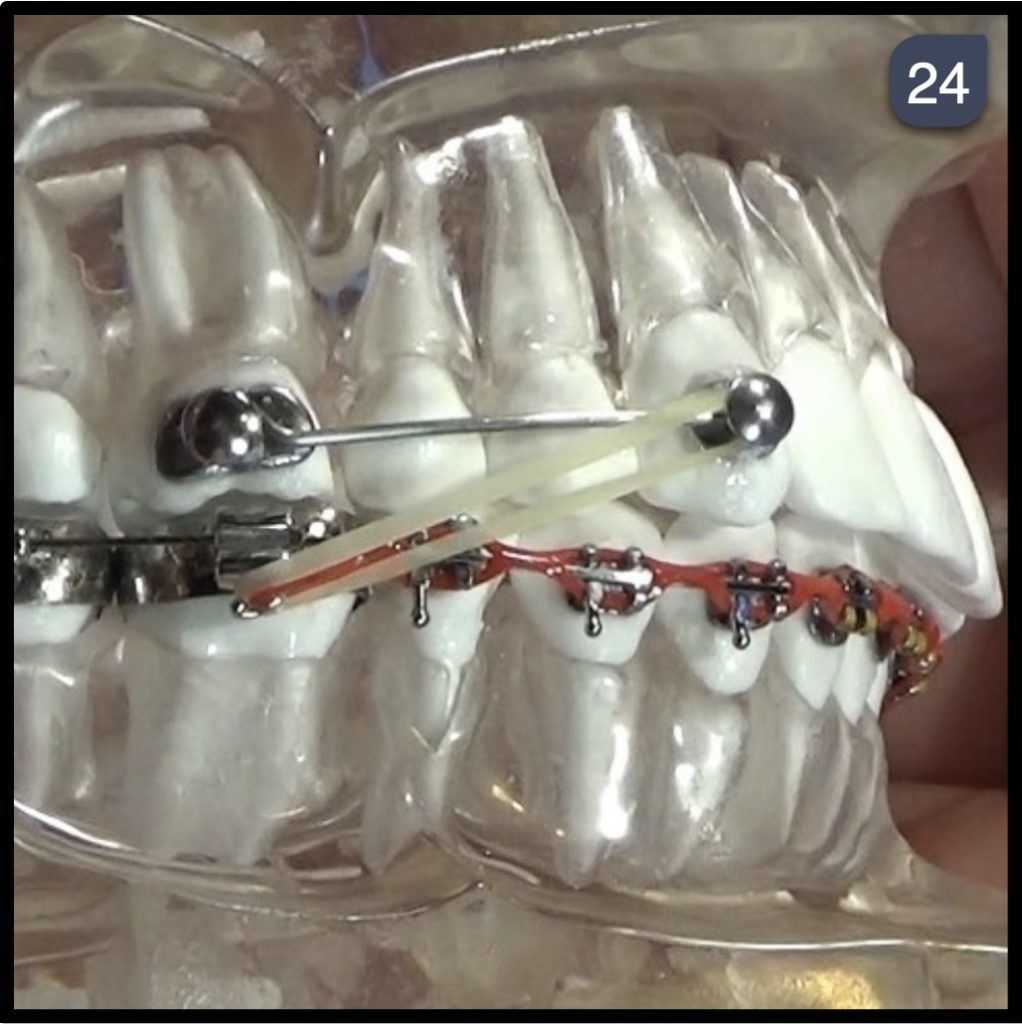
- D2 Elastics must be worn with the appliance for correction.
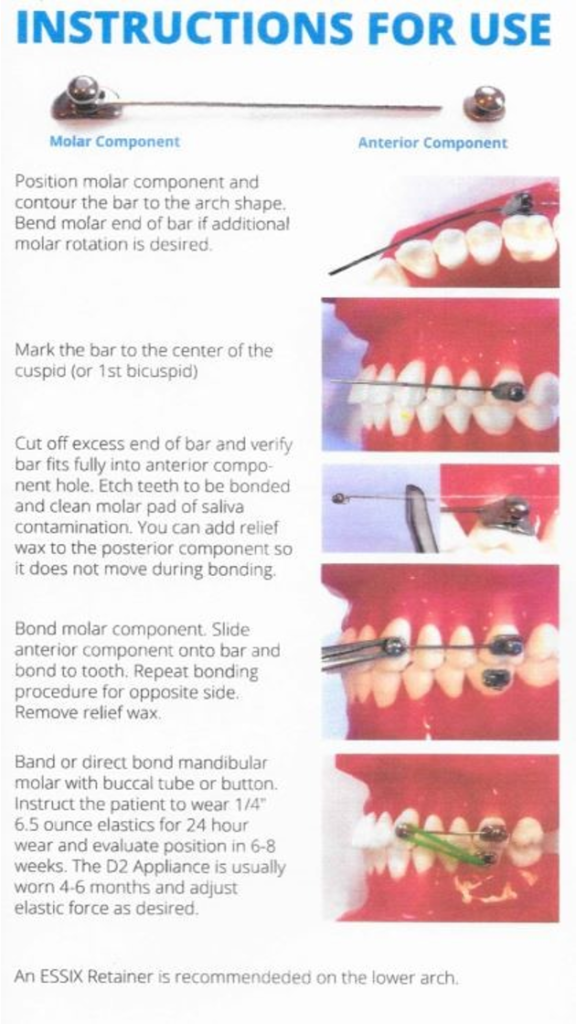
Instructions for Use
Position molar component and contour the bar to the arch shape. Bend molar end of bar if additional molar rotation is desired.
Mark the bar to the center of the cuspid (or 1st bicuspid).
Cut off excess end of bar and verify bar fits fully into anterior component hole. Etch teeth to be bonded and clean molar pad of saliva contamination. You can add relief wax to the posterior component, so it does not move during bonding.
Bond molar component. Slide anterior component onto bar and bond to tooth. Repeat bonding procedure for opposite side. Remove relief wax.
Band or direct bond mandibular molar with buccal tube or button.
Instruct the patient to wear 1 /4” 6.5 ounce elastics for 24-hour wear and evaluate position in 6-8 weeks. The D2 Appliance is usually worn 4-6 months and adjust elastic force as desired.
An ESSIX Retainer is recommended on the lower arch.
Simplifying Class II Correction
The D2 distalizing appliance was developed to simplify treatment of Class II cases during the initial stage of treatment. The patented D2 design treats to a Class I platform by the intra oral elastics forces. Molars are distal rotated into their desired position. Take advantage of early treatment patient cooperation. Brackets can be placed during or after the Class I correction is completed.
Download or Print Lesson
Check out all of the courses offered by the American Orthodontics Society here.<<
